Quick installation of Go Apps
First, make sure you have installed the following tools:
- Docker
Step 1: Write Your Go Program
package main

import (
    "fmt"
    "net/http"
)

func main() {
    http.HandleFunc("/", func(w http.ResponseWriter, r *http.Request) {
        fmt.Fprintf(w, "Hello, World!")
    })

    http.ListenAndServe(":8080", nil)
}
Step 2: Create Docker Image
- In the same directory as
main.go, create a file namedDockerfilewith the following content:
FROM golang:1.17 as builder

WORKDIR /app
COPY . .

RUN go mod init myapp
RUN CGO_ENABLED=0 GOOS=linux go build -a -installsuffix cgo -o main .

FROM alpine:latest
RUN apk --no-cache add ca-certificates
WORKDIR /app
COPY --from=builder /app/main /app/

EXPOSE 8080
ENTRYPOINT ["/app/main"]
This Dockerfile defines a multi-stage build process. In the first stage, we use the official golang image as the
base image and then compile the Go application. In the second stage, we use the lightweight alpine image, copy the
compiled binary file to the /app directory, and expose port 8080.
- Run the following command in the directory where the
Dockerfileis located to build a Docker image for the Go application:
docker build -t your_image_name .
Replace your_image_name with your image name and tag.
Step 3: Push Docker Image
Push the created Docker image to a Docker repository, such as Docker Hub or a private repository. Assuming you are already logged in to the Docker repository, use the following command to push the image:
First, tag the Docker image. Before pushing an image, you need to add a tag to it so that Docker knows where to push it. Run the following command to add a tag to the image:
```docker tag your-image-name your-dockerhub-username/your-repo-name:your-tag
Replace `your-image-name` with your local image name, `your-dockerhub-username` with your Docker Hub username, `your-repo-name` with the repository name you want to create on Docker Hub, and `your-tag` with the tag you set for the image (e.g., latest).

For example:
docker tag demo damager6666/demo:latest
Next, push the Docker image. Use the following command to push the image to Docker Hub:
docker push your-dockerhub-username/your-repo-name:your-tagReplace
your-dockerhub-username,your-repo-name, andyour-tagwith the actual values. For example:docker push damager6666/demo:latest
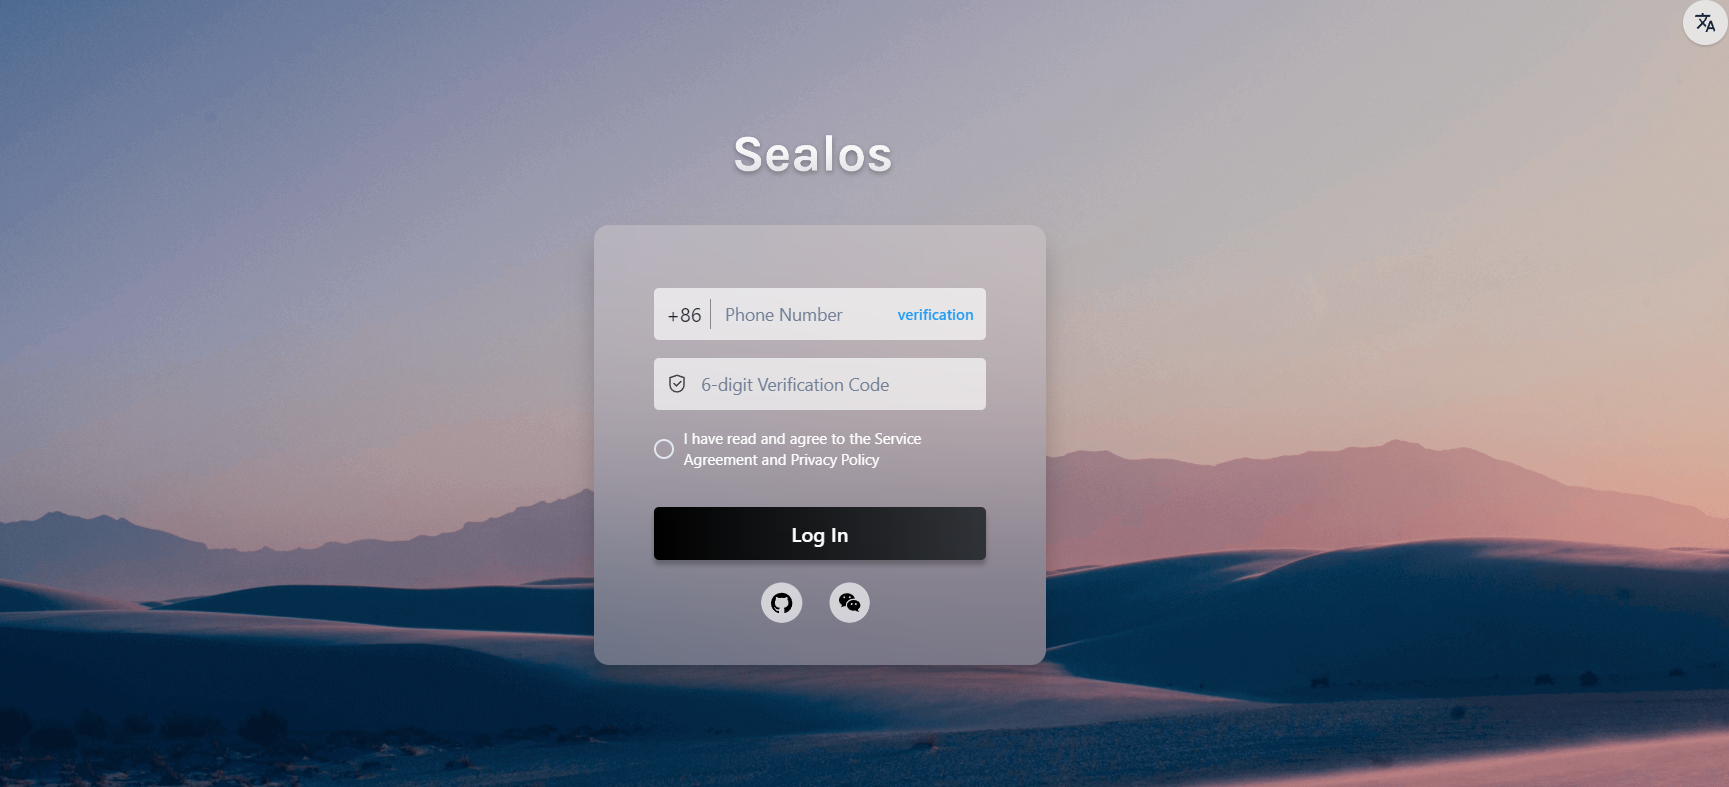
Step 4: Log in to Sealos
- Go to the Sealos official website
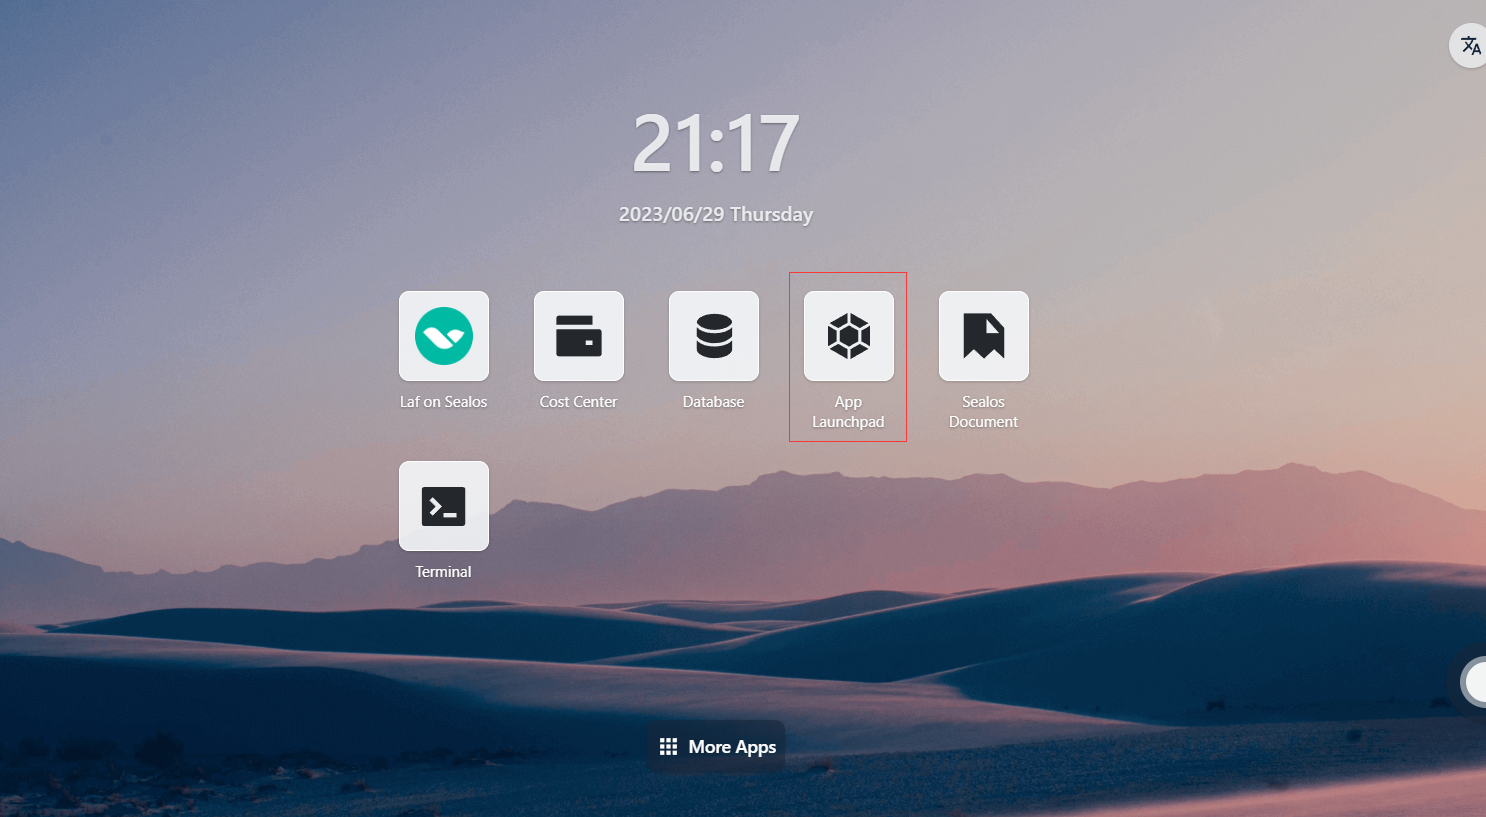
Step 5: Open the "App Launchpad" App
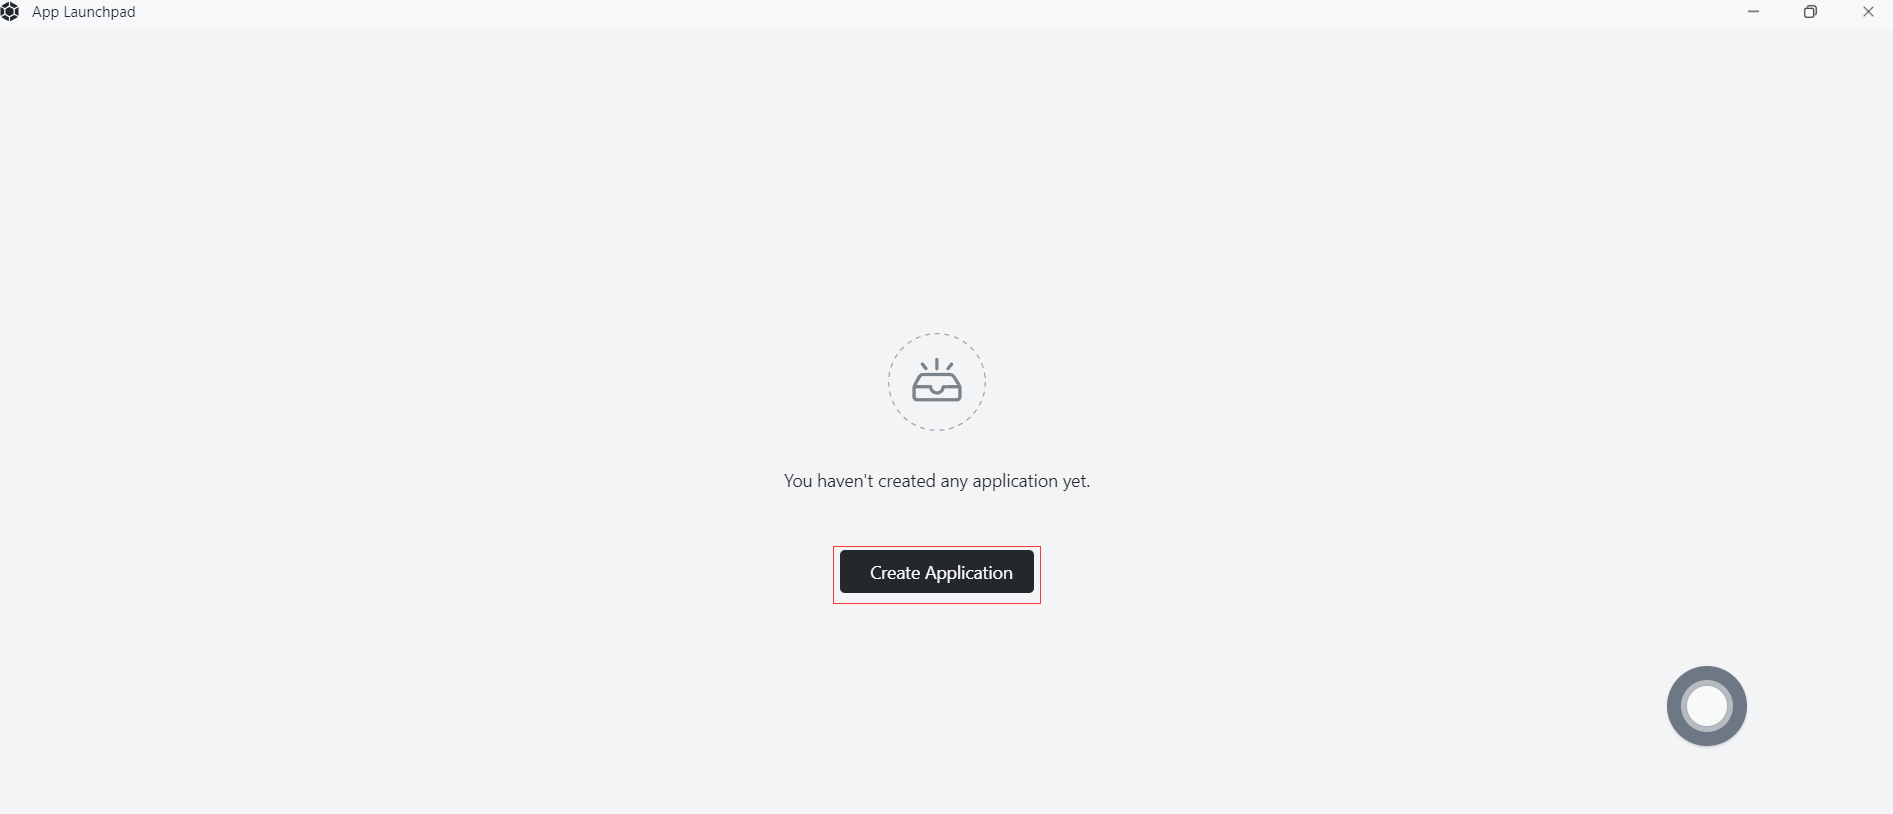
Step 6: Create a New Application
- In "App Launchpad", click "Create New Application" to create a new application.
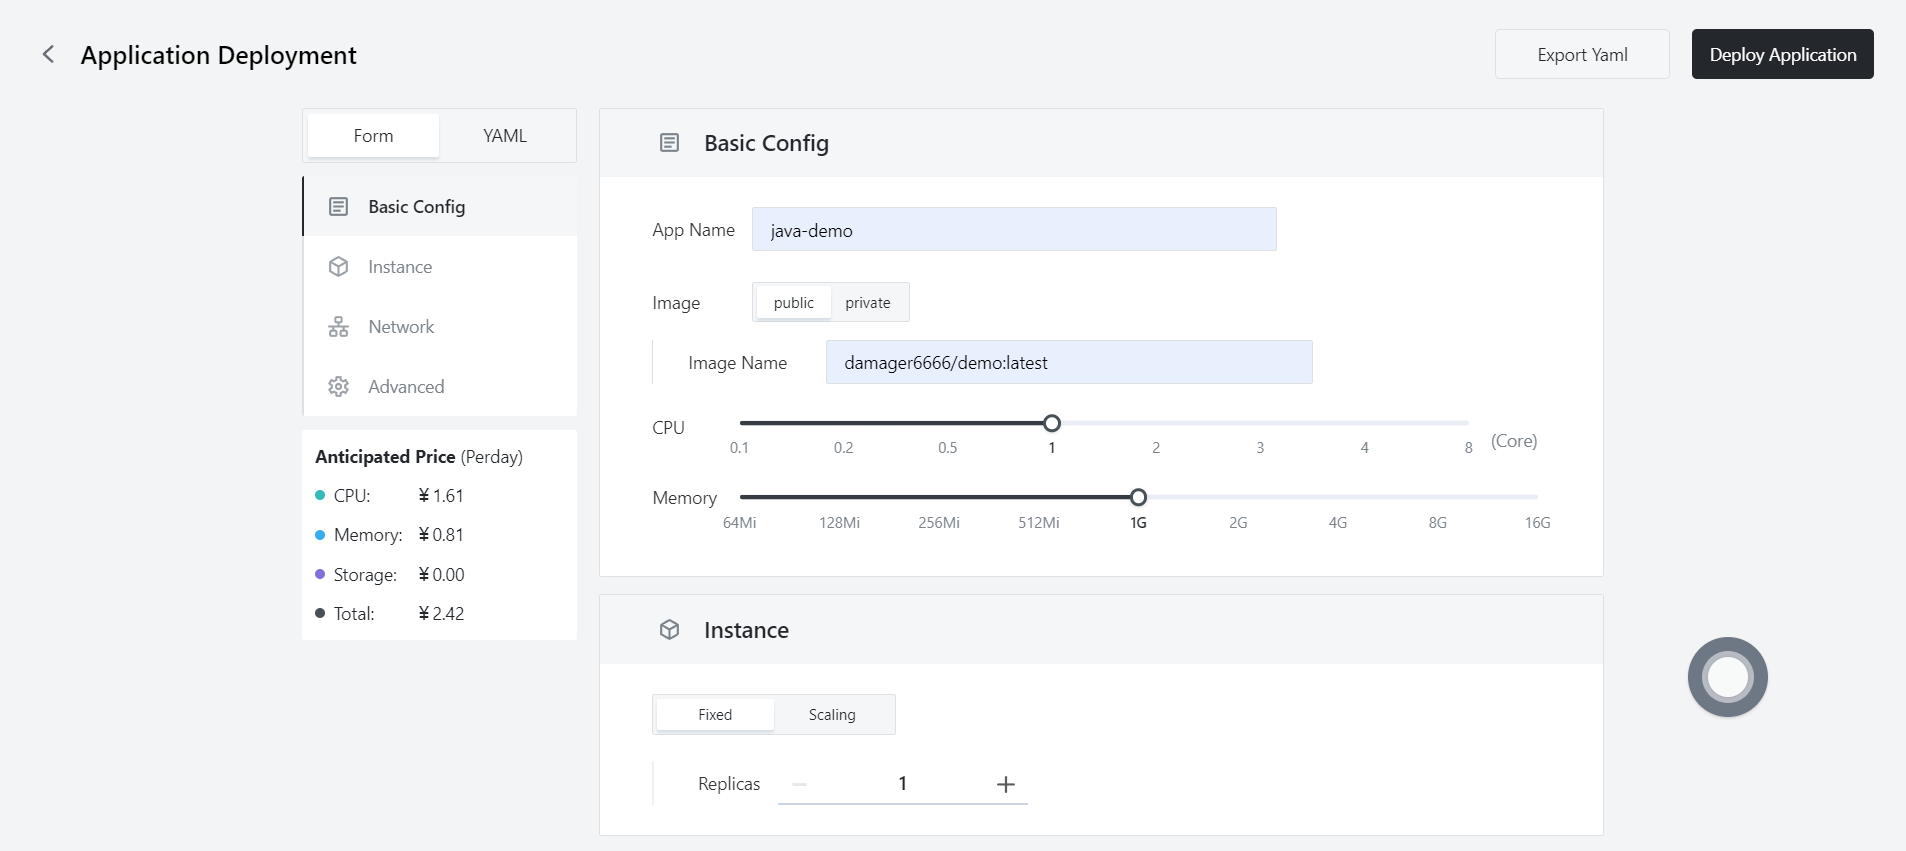
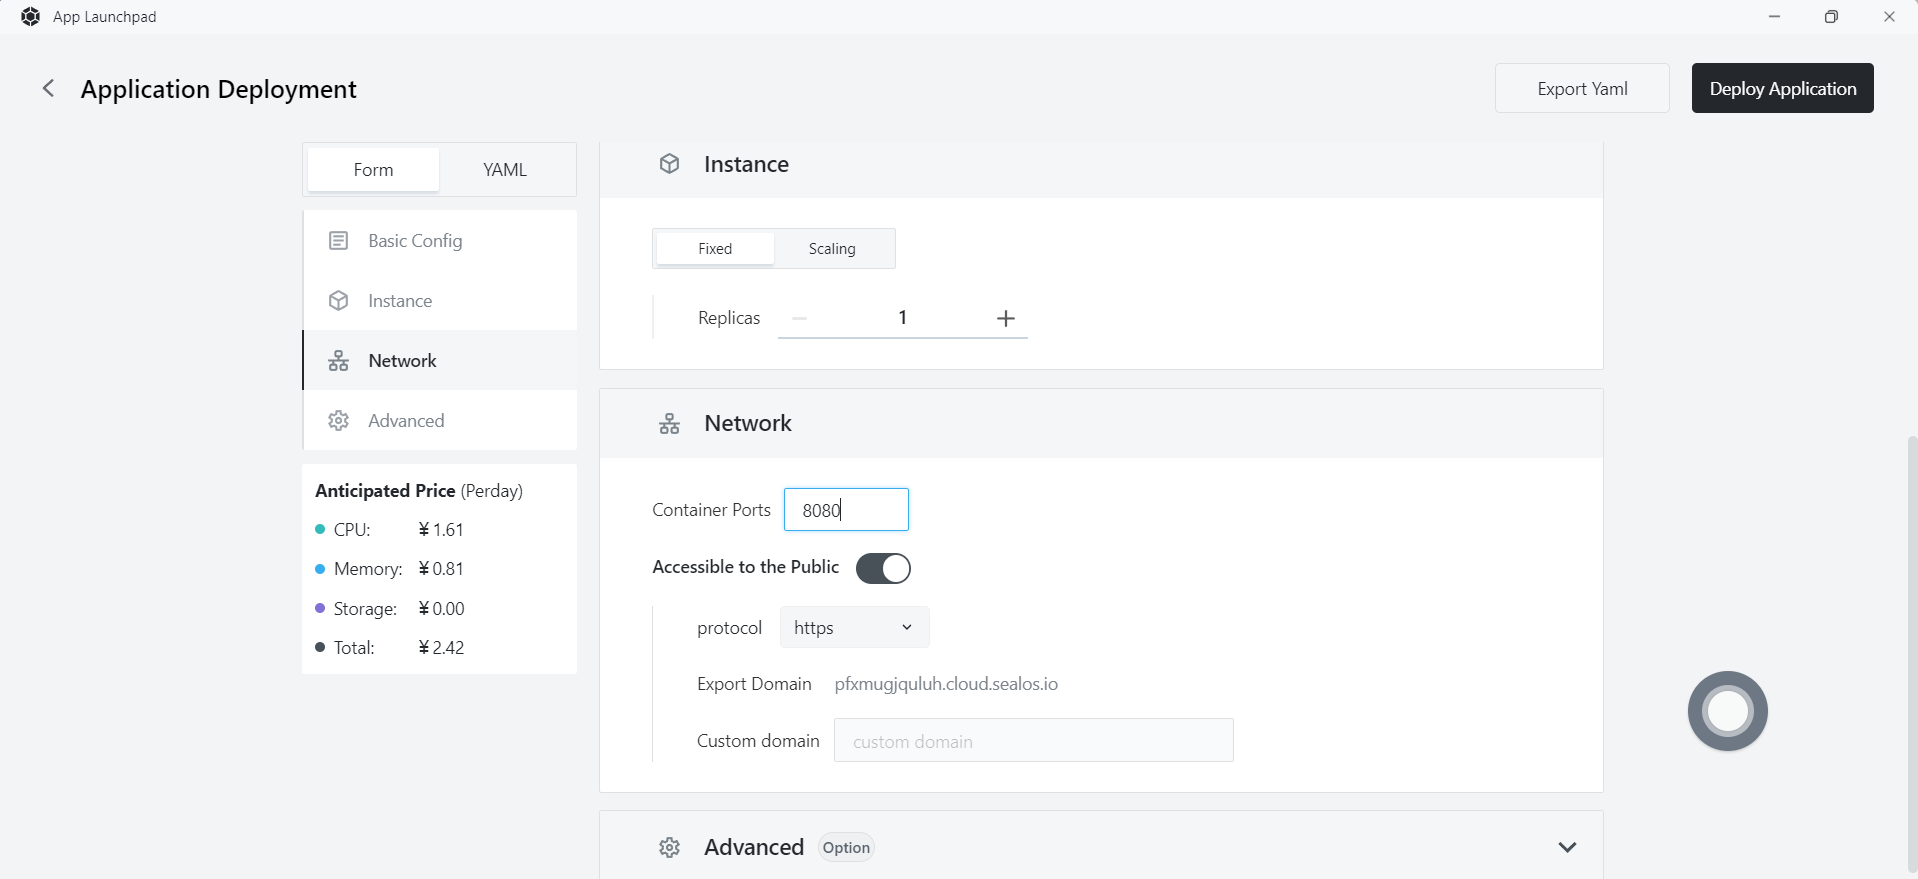
Step 7: Application Deployment
- Basic Configuration:
- Application Name (custom): go-demo
- Image Name: damager6666/demo:latest
- CPU (recommended): 1 Core
- Memory (recommended): 1 G
- Deployment Mode:
- Number of Instances (custom): 1
- Network Configuration:
- Container Exposed Port: 8080
- Internet Access: Enable
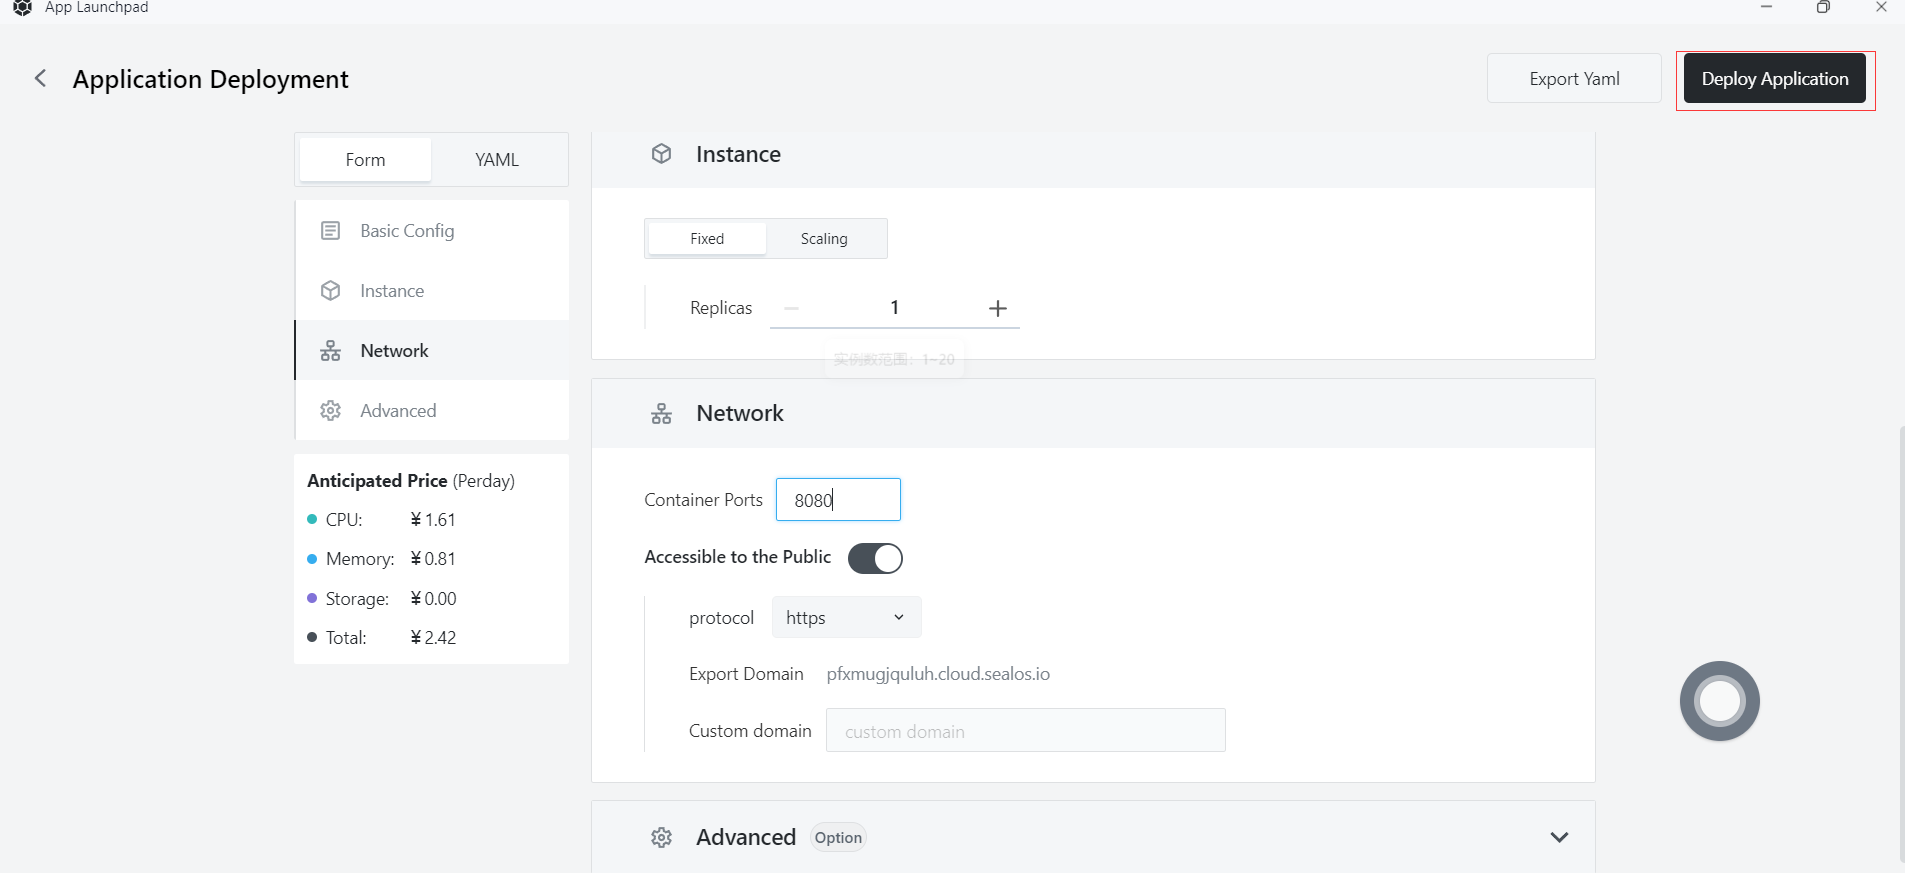
Step 8: Deploy Application
- Click "Deploy Application" to start deploying the application.
Step 9: Access Application
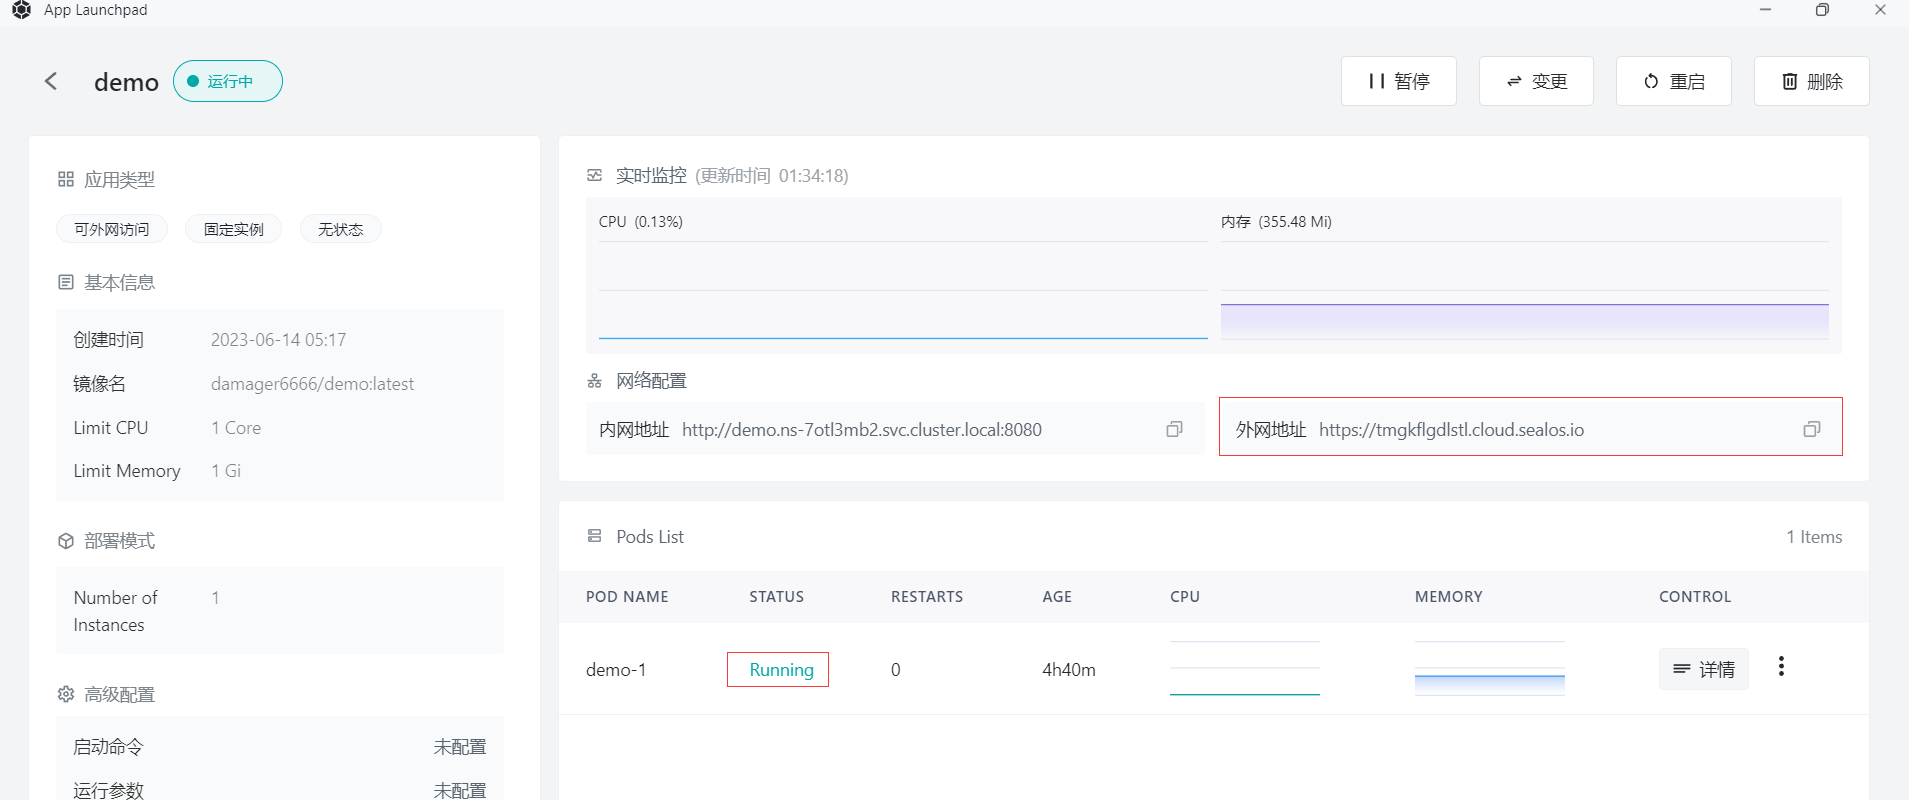
- Click "Application Management" to view. When the application's STATUS changes from Pending to Running, it means the application has started successfully.
- When STATUS is Running, you can directly access the external network address.
- In the browser, enter
https://tmgkflgdlstl.cloud.sealos.io/hello
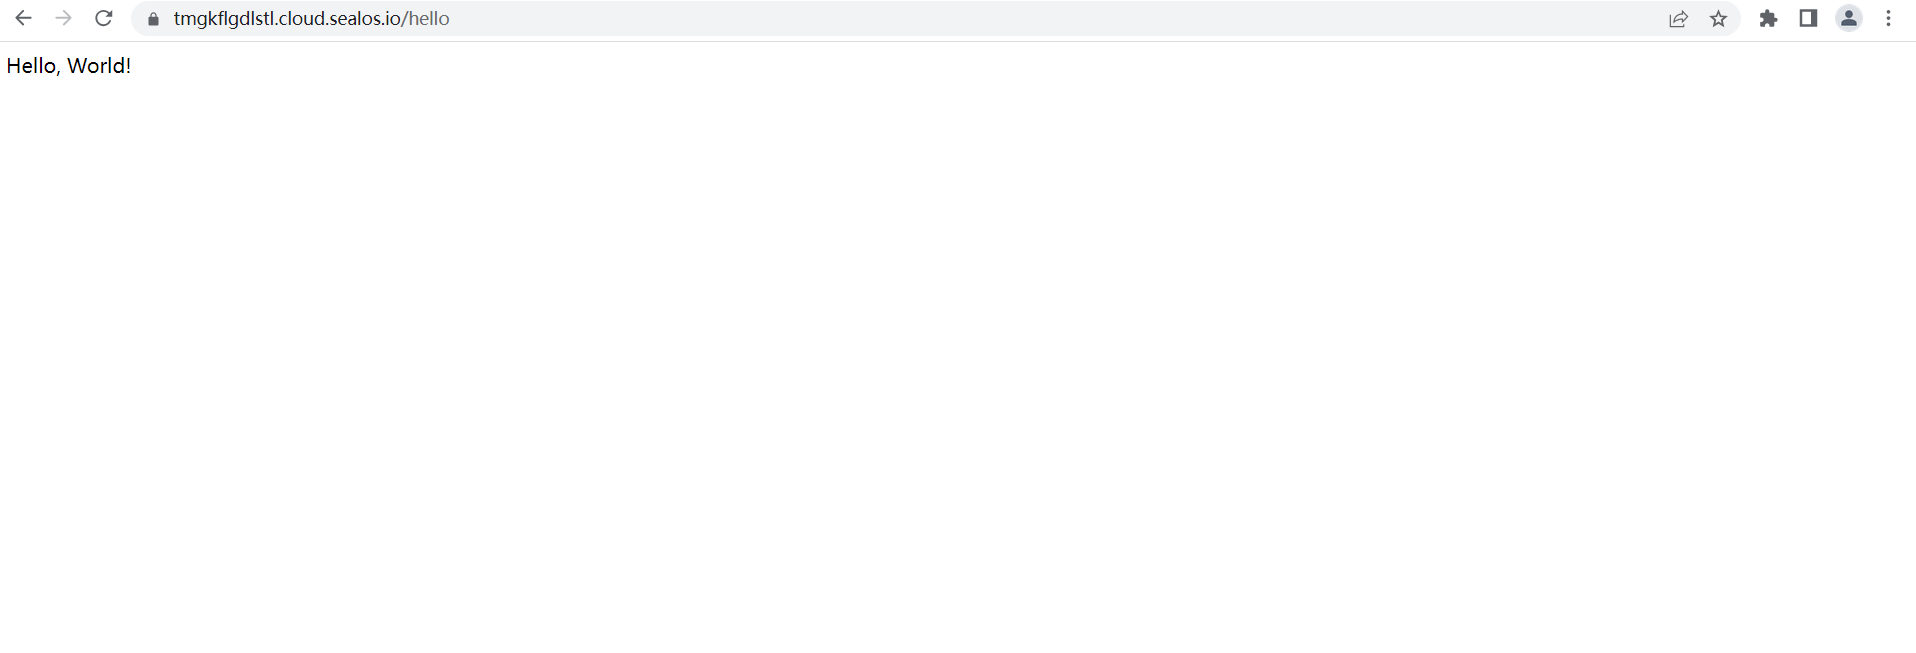
- The page displays "Hello, World!", indicating that your Go application is running on Sealos.